How to Make a PNG with Transparent Background (Step-by-Step)
How to Make a PNG with Transparent Background (Step-by-Step)
PNG is the only major image format that supports full transparency out of the box. If you need a logo on a colored background, a product photo on your website, or a clean cutout for a presentation, you need a PNG with a transparent background — not a JPG.
This guide walks you through the entire process: why PNG matters, three ways to create transparent PNGs (from easiest to most advanced), and how to avoid common mistakes like white halos and jagged edges.
Create your transparent PNG in 3 seconds — free, no signup →
Why PNG for Transparent Backgrounds?
JPG doesn’t support transparency at all. If you save a transparent image as JPG, the background turns solid white (or whatever color your editor uses). WebP supports transparency, but PNG has been the industry standard for over 25 years and works everywhere — every browser, every design tool, every e-commerce platform.
Here’s when you specifically need a transparent PNG:
- E-commerce product photos. Marketplaces like Amazon, Shopify, and Etsy require or strongly prefer product images on white or transparent backgrounds.
- Logos and branding. Your logo needs to work on dark, light, and colored backgrounds. A transparent PNG makes this possible.
- Web design. Overlays, icons, and decorative elements need transparency to blend with any page background.
- Presentations and documents. Dropping a cutout image onto a slide looks far more professional than a rectangular photo with a white box around it.
The key difference between PNG and other formats is the alpha channel — a fourth channel in addition to red, green, and blue that stores transparency information for each pixel. A pixel can be fully opaque, fully transparent, or anywhere in between (partial transparency, useful for soft edges like hair).
Method 1: Use a Free Online Tool (Fastest)
This is the quickest method and works for 90% of use cases. No software to install, no design skills needed.
Step 1: Open your browser and go to a free background removal tool.
Step 2: Upload your image. Most tools accept JPG, PNG, WebP, and even HEIC files from your phone.
Step 3: The AI automatically detects and removes the background. This usually takes 3-5 seconds.
Step 4: Download the result. The tool outputs a PNG file with a transparent background by default.
Step 5: Check the edges. Zoom in to 200% and look at the outline of your subject. If you see white halos or rough edges, use the tool’s edge refinement option if available, or try re-uploading with a higher-resolution original.
Try it now — upload any image and get a transparent PNG instantly →
This method works best when your subject has clear contrast with the background — a person against a wall, a product on a solid surface, or a logo on a plain color. Complex backgrounds (multiple objects, similar colors between subject and background) may need manual cleanup afterward.
Method 2: Use Free Desktop Software
If you need more control or work offline, free software gives you manual precision.
GIMP (Free, Windows/Mac/Linux):
- Open your image in GIMP.
- Go to Layer → Transparency → Add Alpha Channel. This step is critical — without an alpha channel, you can’t make pixels transparent.
- Select the background using the Fuzzy Select Tool (magic wand) or Select by Color.
- Press Delete to remove the selected area.
- Use the Eraser Tool to clean up edges manually.
- Go to File → Export As and select PNG format. Make sure “Save color values from transparent pixels” is unchecked.
Photopea (Free, browser-based):
- Open your image at photopea.com.
- Go to Layer → Layer Mask → Reveal All.
- Select the background and paint black on the mask to hide it.
- Go to File → Export As → PNG.
- Check “Transparency” is enabled.
The desktop software approach takes 2-5 minutes per image but gives you pixel-perfect control over edges, which matters for professional work like print design or high-end product photography.
Method 3: Use Professional Software
If you already own professional editing software, here’s how to export transparent PNGs correctly.
Professional Desktop Software:
-
Open your image and unlock the background layer.
-
Remove the background using Select → Subject or a similar AI selection tool.
-
Refine edges with a 1-2 pixel feather for natural-looking outlines.
-
Go to File → Export → Export As.
-
Select PNG format. Ensure Transparency is checked.
-
Choose Interlaced: None for web use (smaller file size).
-
Open your image.
-
Go to Layer → New Layer to create an empty layer above your image.
-
Select the background and delete it.
-
Export as PNG with transparency enabled.
The professional route matters most when you’re batch-processing images or working with RAW files. For single images, the free online method is faster and produces identical results in most cases.
How to Save PNG Correctly (Avoid These Mistakes)
Creating a transparent PNG is only half the battle. Saving it wrong can ruin the transparency or create bloated files.
Mistake 1: Saving as PNG-8 instead of PNG-24. PNG-8 supports only 256 colors and 1-bit transparency (fully opaque or fully transparent — no semi-transparency). PNG-24 supports millions of colors with full alpha channel. Always use PNG-24 for photos and anything with soft edges.
Mistake 2: Premultiplied alpha. Some software premultiplies the RGB values by the alpha channel, which can cause dark fringes when the image is placed on a different background. If your software offers the option, choose “straight alpha” over “premultiplied alpha.”
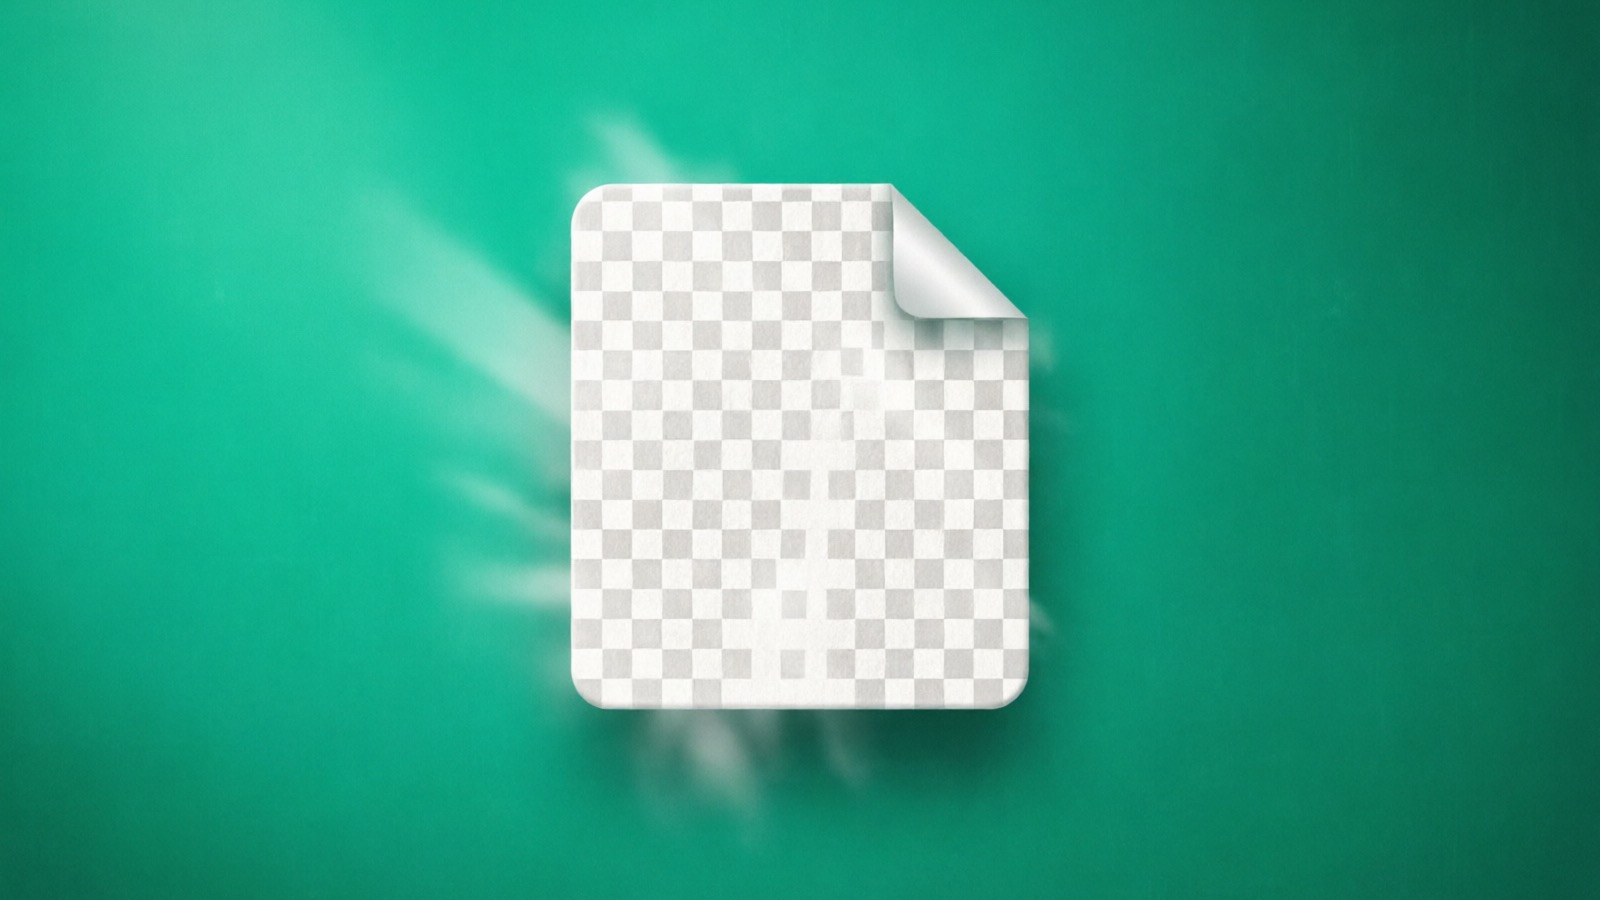
Mistake 3: Not checking the checkerboard. In any image editor, transparency is shown as a gray-and-white checkerboard pattern. If you see a solid white or colored background instead of the checkerboard, your PNG is not transparent.
Mistake 4: Huge file sizes. High-resolution PNGs with transparency can be 10MB+. Use tools like TinyPNG or Squoosh to compress PNGs without visible quality loss. You can typically reduce file size by 60-70%.
**Compress your transparent PNGs for free →** Check out our pricing page for batch processing options.
Common Issues and Fixes
White halos around the subject. This happens when the original image had a white (or light) background that partially blended with the subject’s edge pixels. Fix: After removing the background, use the “defringe” or “decontaminate colors” feature in your editing software. In GIMP: Filters → Enhance → Defringe. In professional editors: look for Layer → Matting → Defringe or equivalent.
Jagged (staircase) edges. Caused by low-resolution source images or overly aggressive selection tools. Fix: Use a softer selection (feather by 1-2 pixels) or start with a higher-resolution original. Anti-aliasing during export also helps.
Transparency disappears when uploaded. Some social media platforms and website builders convert PNGs to JPG automatically, stripping transparency. Fix: Check the platform’s documentation. If transparency isn’t supported, place your image on the desired background color and save as JPG instead.
File too large for upload. E-commerce platforms often have file size limits (usually 5-10MB). Fix: Resize the image to the platform’s recommended dimensions first, then compress with TinyPNG or a similar tool.
PNG Transparency: Quick Reference
| Scenario | PNG Type | Bit Depth | File Size (approx.) |
|---|---|---|---|
| Logo with sharp edges | PNG-8 | 8-bit | 5-50 KB |
| Product photo with soft edges | PNG-24 | 24-bit | 500 KB - 5 MB |
| Photo with partial transparency | PNG-32 | 32-bit | 1-10 MB |
| Optimized for web (after compression) | PNG-24 | 24-bit | 100-500 KB |
Frequently Asked Questions
Can JPG images have transparent backgrounds?
No. JPG format does not support transparency of any kind. If you need a transparent background, you must use PNG, WebP, GIF, or SVG. For photos with complex subjects, PNG is the most widely supported choice.
Why does my PNG still show a white background?
The most common cause is forgetting to add an alpha channel before removing the background. In GIMP, go to Layer → Transparency → Add Alpha Channel. In most professional editors, the background layer is locked — double-click it to unlock and convert it to a regular layer first. After removing the background, verify you see the checkerboard pattern (which indicates transparency).
What’s the difference between PNG-8 and PNG-24?
PNG-8 supports up to 256 colors and binary transparency (each pixel is either fully opaque or fully transparent). PNG-24 supports millions of colors with partial transparency (each pixel can be 0-100% transparent). Use PNG-8 for simple graphics like logos. Use PNG-24 for photographs or anything with soft, gradual edges.
How do I reduce PNG file size without losing quality?
Use a lossless PNG compressor like TinyPNG, Squoosh (by Google), or ImageOptim. These tools reduce file size by 50-70% with no visible quality difference. For the best results, resize your image to its actual display dimensions before compressing. Also, remove any unnecessary metadata (camera info, color profiles) using a tool like ExifTool.
Can I make a PNG transparent on my phone?
Yes. Free online tools work in any mobile browser — just upload your photo and download the transparent PNG. The process is identical to desktop: upload, automatic background removal, download. Some mobile apps also offer this feature, but online tools are faster and don’t require installation.
Why does my transparent PNG have a black background in some apps?
Some applications don’t support transparency and display it as black. This isn’t a problem with your PNG — it’s a limitation of the viewing app. Common culprits: some older versions of Microsoft Office, certain video editors, and basic image viewers. The PNG is still transparent; it just won’t display correctly in those specific apps.
Conclusion
Making a PNG with a transparent background is straightforward once you understand the basics: choose PNG (not JPG), remove the background using your preferred method, and save correctly with the right settings. For most people, a free online tool is the fastest path to a professional result — upload, wait 3 seconds, and download your transparent PNG.